8 oct 2013

Puppets - Marionetas


These puppets were a present for my nephews some time ago. 

~~&~~

Estas marionetas fueron un regalo para mis sobrinos hace un tiempo.


They were made with recycled clothes and ribbons from my grandma, therefore it’s a clear case for Upcycling-Dienstag. 

~~&~~

Los hice reciclando ropa y con cintas de mi abuela, así que es un caso claro de Upcycling-Dienstag.


The fairy has rustling wings: between the fabric layers there is one made of thick plastic bag.

~~&~~

El hada tiene alas “crujientes”: entremedio de las capas de tela hay una capa de bolsa de plástico grueso.
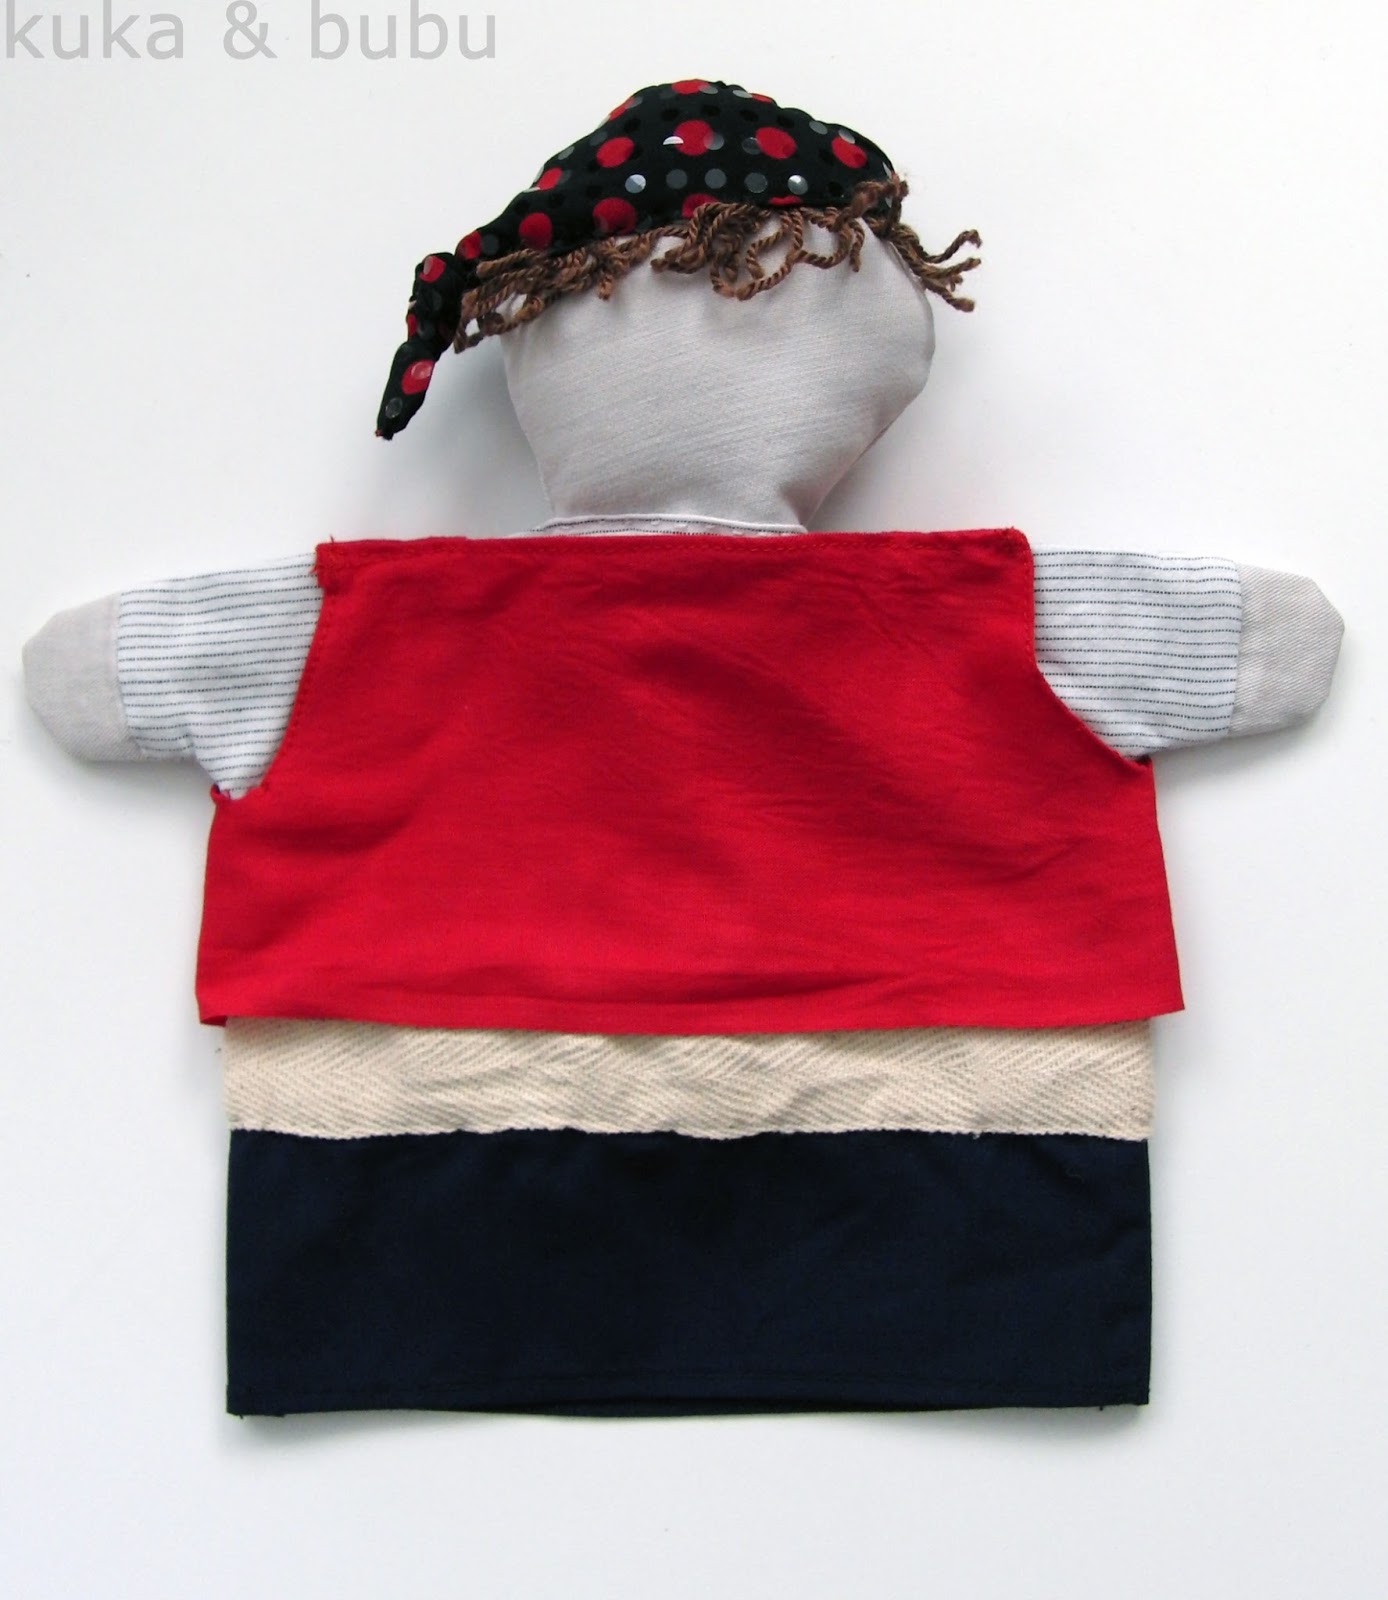


The first pirate I made turned out too small, and it needed some patchwork (= not suitable to give as a present). So I did actually four puppets at the end, and Bubu is now the proud owner of her “piata” (“pirata”).

~~&~~

El primer pirata que hice me salió demasiado pequeño y tuve que hacer un apaño (= no apto para regalar). Así que en realidad hice cuatro marionetas, y ahora Bubu es orgullosa dueña de su “piata”.


There was a lot of handwork, but I also was able to try my sewing machine, it was actually one of my first projects with it.

That’s all for this week, girls… Now let’s visit Creadienstag, Meertjes Stuff, Meitlisache, Kiddikram, Feather's Flights, Sew Many Ways, Sew Can DoJaqs Studio and Sugarbee Crafts, to see what the other crafters have done! 

~~&~~

Hay mucho trabajo a mano en estas marionetas, pero también pude probar la máquina de coser, que por aquel entonces era nuevecita.

Pues bien, esto es todo por esta semana, gente… Ahora vayamos a visitar Creadienstag, Meertjes Stuff, Meitlisache, Kiddikram, Feather's Flights, Sew Many Ways, Sew Can DoJaqs Studio y Sugarbee Crafts, a ver qué han hecho las demás. 

1 oct 2013

Wrap skirt waistband – Cintura de falda ajustable (tutorial)


Two weeks ago I sewed a wrap skirt with the “2211 Dana A-line” pattern (Fitzpatterns). I altered the pattern to avoid having a seam at the back of the waistband and to create the illusion that it’s one whole piece (225 cm / ~89 inches). 

~~&~~

Hace dos semanas cosí una falda ajustable con el patrón “2211 Dana A-line” (Fitzpatterns). Varié el patrón para evitar tener una costura en la parte trasera de la cintura de la falda y para crear la ilusión de que la cintura era toda de una pieza (225 cm).


Here’s how I did it:

Calculate how long are going to be the two waistband pieces, measure from one side seam of the skirt till the edge of it and add the length of the ties, and then measure from the same side seam to the other side of the skirt, this last one should be longer (in the diagram the two measurements in pink). 

~~&~~

Así es como lo hice:

Calculad como de largas van a ser las dos piezas de la cintura, para ello medid desde una costura del lado hasta el borde de la falda y añadid la longitud que queráis para la tira de atar. Entonces medid desde la misma costura hacia el otro lado de la falda, esta parte va a ser más larga que la otra (en el dibujo se indican estas mediciones en rosa).


Pin the two sides of the waistband right sides together. 

~~&~~

Une las dos partes de la cintura con alfileres, encarando derechos.


Now we are going to sew the seam and create the hole at the same time: join two ends of the bands, and sew only on the red marked line, like shown below.

Then repeat with the other side.

~~&~~

Ahora haremos la costura y crearemos el agujero al mismo tiempo: juntad dos finales de las tiras, y cosed solamente por la línea roja que marco abajo.

Repetid con la otra cara.


After that it looks like this: 

~~&~~

Tiene que tener esta pinta:


Then stitch both sides together leaving an opening exactly in the center of the waistband piece (long enough to have your skirt in it). 

~~&~~

Entonces cosed los dos lados dejando una apertura exactamente en el centro de la cintura (suficientemente larga como para poder meter la falda en ella).


Turn the waistband inside out, fold the seam allowance inside and press. Place the skirt into the opening, pin it and topstitch.

~~&~~

Girad la cintura del derecho, doblad el margen de costura para dentro y planchadlo. Poned la falda dentro de la apertura, sujetadlo con alfileres y cosedlo todo junto.


This is the result (you can stitch close to the opening of the hole if your fabric frays easily, this way there won’t be any threads showing up when you pull the tie through it). 

~~&~~

Este es el resultado (podéis dar unas puntadas cerca de la apertura del agujero si vuestra tela de deshilacha fácilmente, así no saldrá ningún hilillo cuando paséis la tira de la cintura).


I hope I've explained it clearly!

Sharing this tutorial at:

24 sept 2013

More birthday crowns! – ¡Más coronas de cumpleaños!


My nephews Pau and Ariadna turned 3 last week! They deserved a birthday crown, the twin cheeky monkeys, of course! 

(I swear these are the last birthday crowns I show, because I have no more nephews around… unless you want me to sew one for YOU! hahahaha… orders are welcome…) 

~~&~~

¡Mis sobrinos Pau y Ariadna han cumplido 3 años! ¡Y evidentemente los gemelos se merecían unas coronas de cumple! 

(Juro que estas son las últimas coronas que os enseño, porqué ya no tengo más sobrinitos… a no ser que queráis que os cosa una ¡para vosotras! Jajajaja… se aceptan pedidos…)


Like I did with Bubu’s and Jana’s crowns, they are tied with the ribbons and the number badge is attached with Velcro. They will use the crowns for a few years this way.

You can download the pattern here. If you make one, please let me know, I’ll be glad to show your version! 

~~&~~ 

Tal y como hice con las coronas de Bubu y de Jana, estas también de atan con la cinta y el número se engancha con velcro. Espero que así puedan usar las coronas durante unos cuantos años.

Podéis descargar el patrón aquí. Si hacéis alguna decídmelo, me encantará poder compartir vuestra versión en mi blog.


Sharing the crowns at Compartiendo las coronas en:


* * * * * * * * *


And before letting you go, I wanted to tell you that I was "tagged” by Veronika from “Tag für Ideen”! What an honor!! You must see what she does, it’s amazing!

When you’re tagged you must do two things: show one sewing project and “tag” 3 other bloggers that have less than 100 followers.

Because I love what they do and they deserve being promoted, I send my “tags” to Poland and back to Austria, and the last one remains in my country:

~~&~~

Y antes de dejaros marchar, os tengo que contar que Veronika de “Tag für Ideen” me ha “tagueado” (que viene a ser “etiquetado” en español, al más puro estilo facebook). ¡Qué honor! Tenéis que ver lo que hace, ¡es una pasada!

Cuando te “etiquetan” tienes que hacer dos cosas: enseñar un proyecto costuril de la semana y “etiquetar” 3 otros blogs que tengan menos de 100 seguidores.

Porqué me encanta lo que hacen y se lo merecen, envío mis “tags” a Polonia, de vuelta a Austria y el último se queda aquí:


Creative Commons License
This work is licensed under a Creative Commons Attribution-NonCommercial-NoDerivs 3.0 Unported License.